
How it works
From first snowflake to a clear surface
A snow-melting system has three parts: heating elements in the surface, a sensor that detects conditions and a controller that decides when to run. Here is what each does and how they work together.
1. The heating layerCable or mats in or beneath the surface.
2. The sensorDetects the temperature and moisture that mean snow or ice.
3. The controllerSwitches the heating on and off.
Follow one snowfall, step by step
Select a step to see the snow, the heat and the components involved.
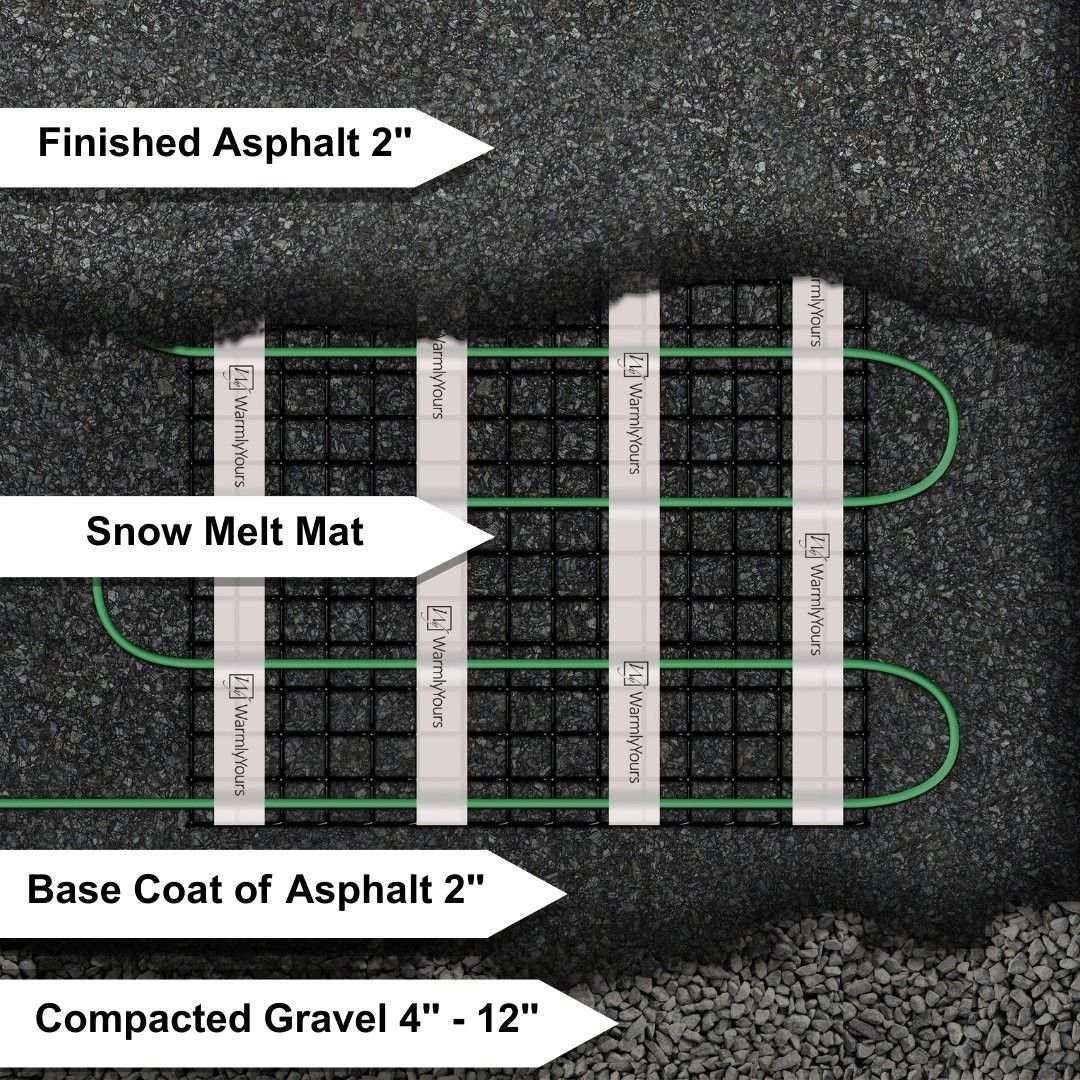
Image: WarmlyYours
Snow starts to fall and the surface is cold. Nothing is running yet.
A sensor picks up the moisture and temperature conditions that mean snow or ice is forming.
The controller switches on the heating elements. Nobody has to be home or lift a finger.
Heat spreads up through the surface, warming it so snow melts instead of building up.
Snow and ice melt and the meltwater drains off the surface. The path stays clear.
The controls keep the system running long enough to clear remaining moisture, then shut it down. Exact after-run depends on how your controls are set up.
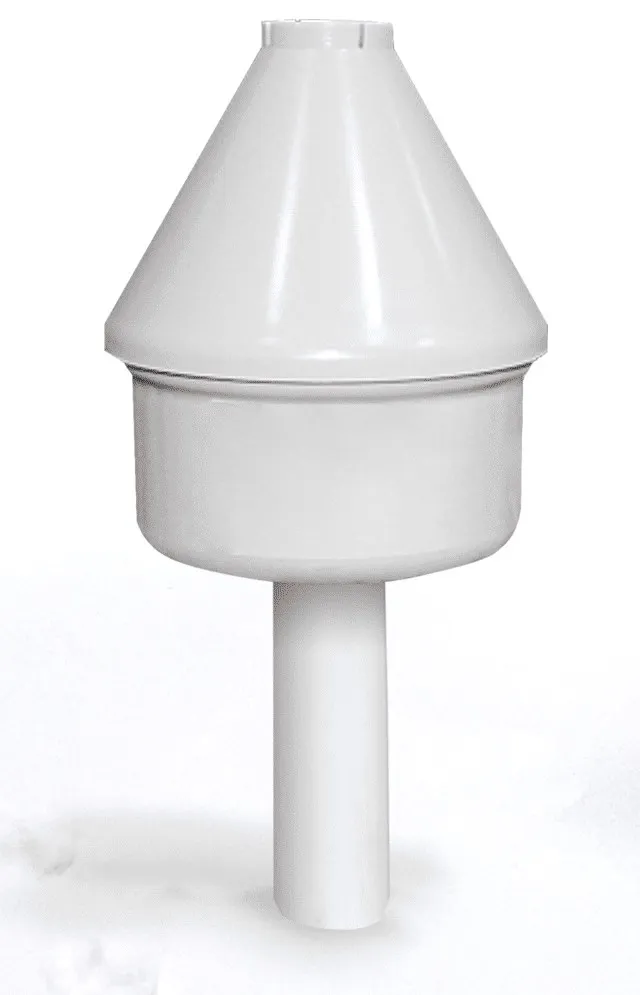
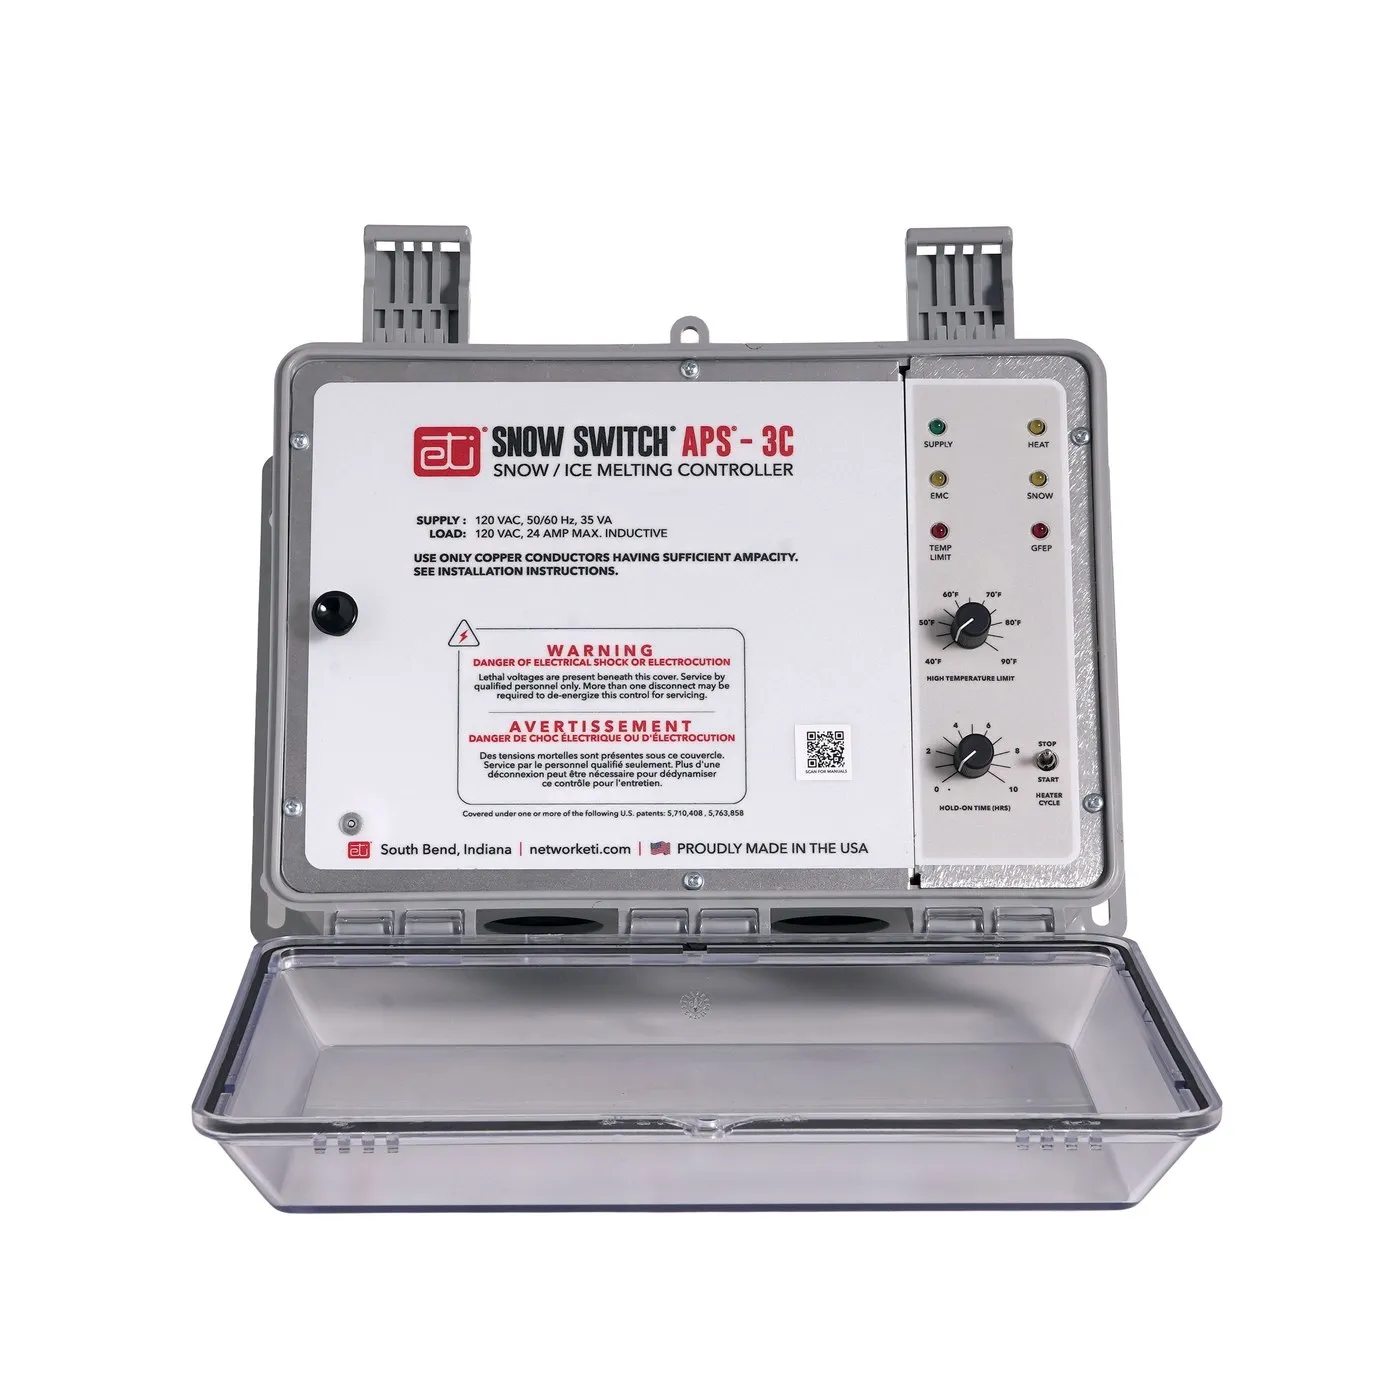
Components shown are WarmlyYours products. Your design confirms which ones your project uses.
Part 1
The heating layer
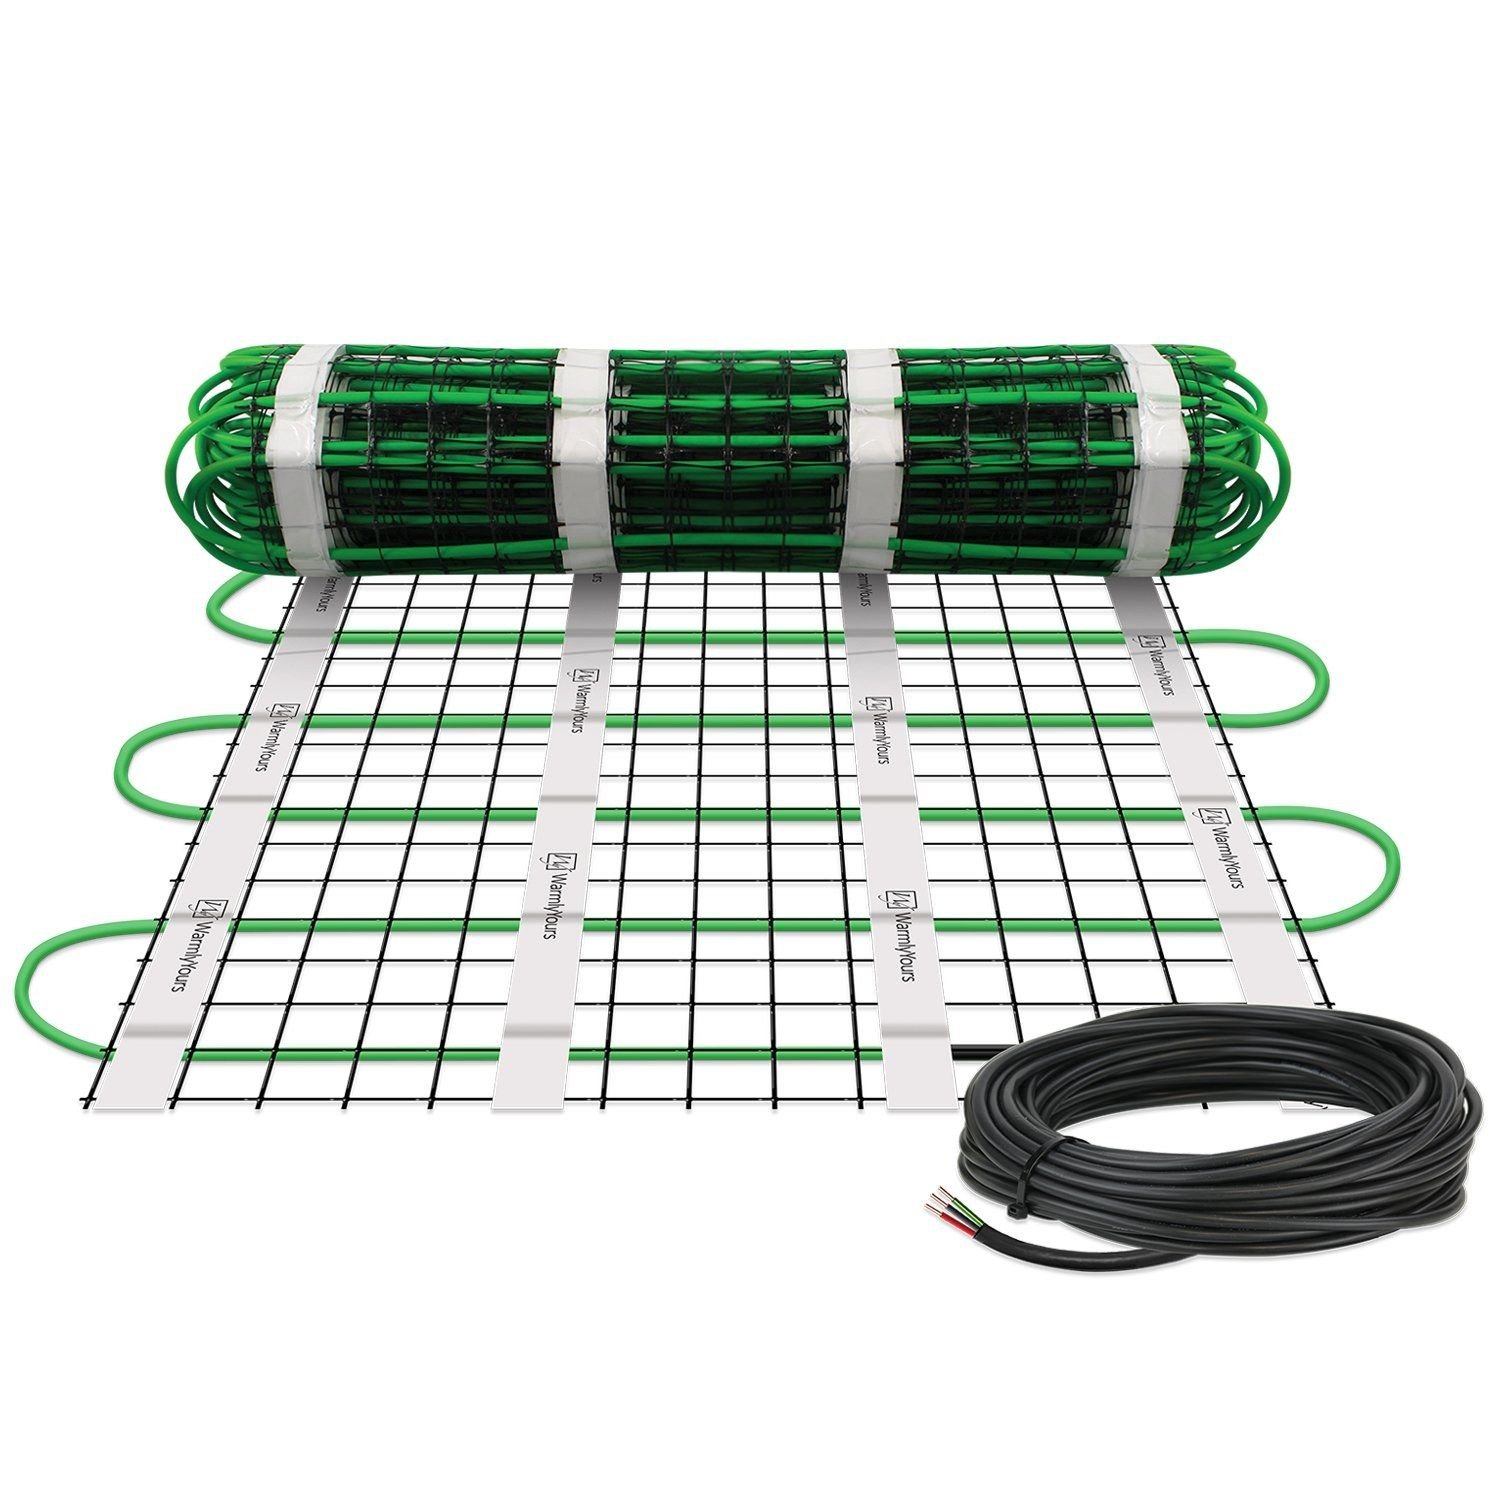
Heating cable, either pre-spaced on a mat or laid loose, sits in or beneath the surface. The layout and spacing are set in your design so heat reaches the whole area you chose.
- Mats suit open, square or rectangular areas
- Cable suits curves, stairs and irregular shapes
- Hidden inside the finished surface
Part 2
The sensor
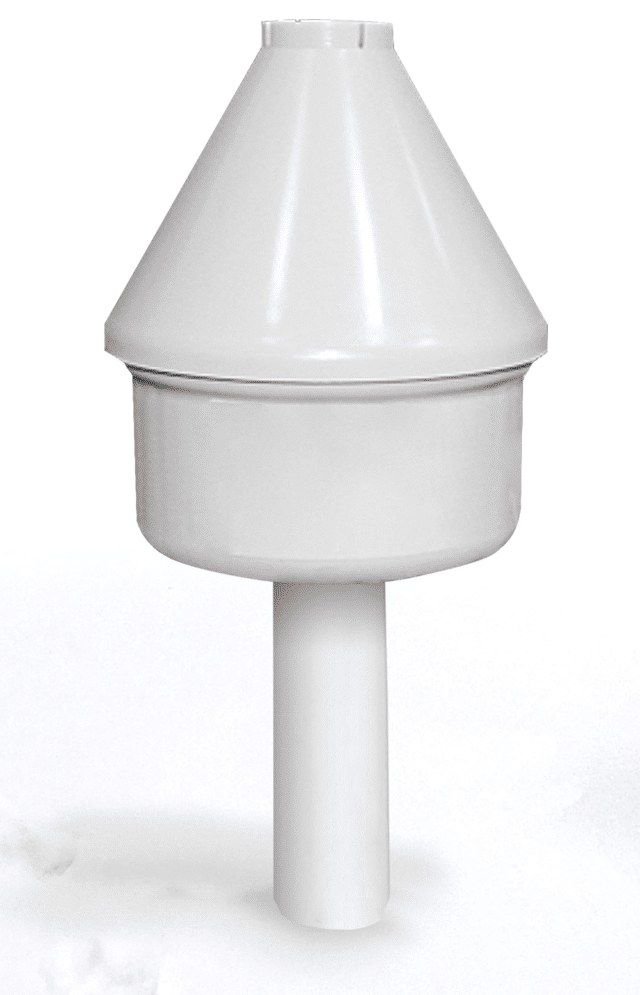
A sensor detects the temperature and moisture that mean snow or ice is forming. It can sit above ground or in the surface, in an open spot where snow falls directly on it.
- Aerial and slab sensor options
- Lets the system run when needed rather than all winter
Part 3
The controller
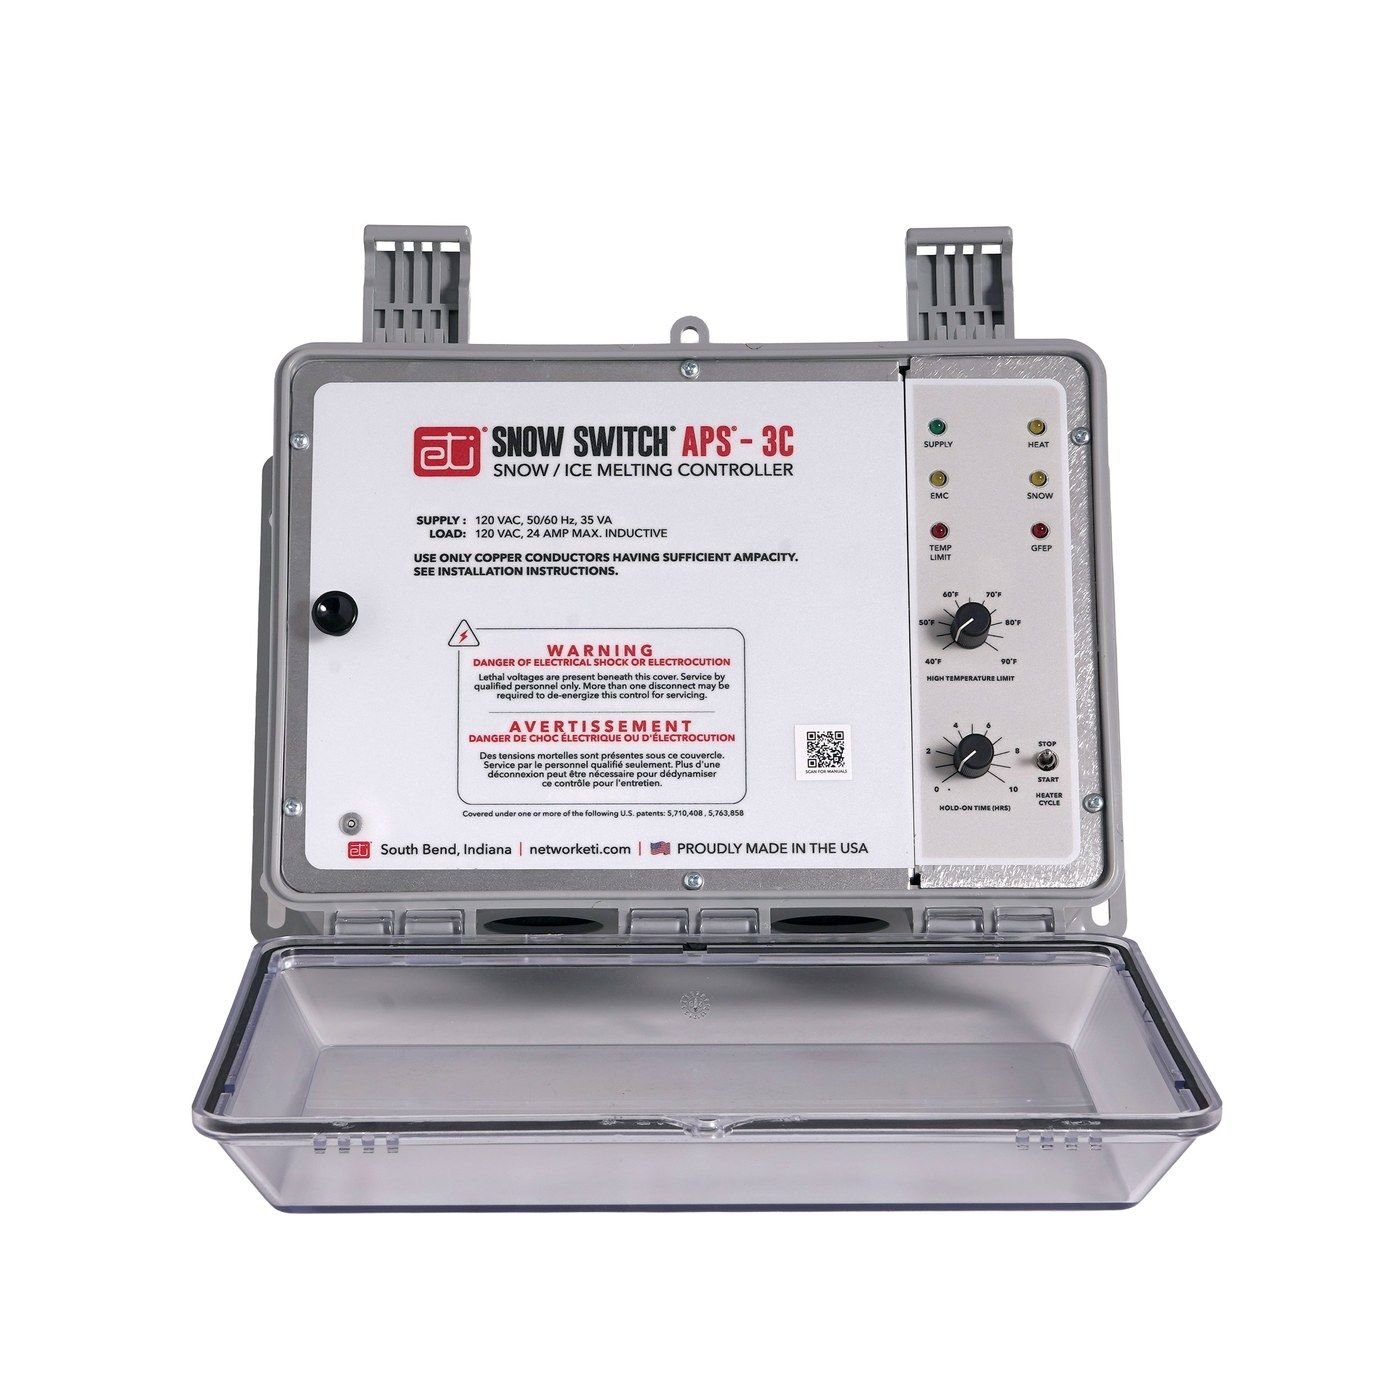
The controller reads the sensor and switches the heating on and off. Automatic controls can include a hold-on period that keeps the system running after snow stops, so remaining moisture clears.
- Automatic sensor control, timer, manual override or Wi-Fi
- Zoned control for larger systems
Ways to control a system
The same heating layer can be run in different ways. Your design picks the one that suits you.
Automatic with a sensor
Runs when the sensor detects snow or ice conditions. The most common approach for driveways.
Timer
You set how long the system runs. Suited to small areas.
Manual override
A switch to run the system yourself, on top of automatic control where needed.
Wi-Fi control
Switch the system on and off from a phone, useful for remote properties.
How it works: questions
Direct answers about sensors, controls and running the system.
How does a snow-melting system know when to turn on?
A sensor detects the temperature and moisture conditions that mean snow or ice is forming, and the controller switches the heating on. Sensors can be mounted above ground (aerial) or in the surface (slab), depending on the design.
Does the system keep running after the snow stops?
Automatic controls typically include an adjustable hold-on period that keeps the heating on after snow stops, so remaining snow and moisture clear before the system shuts down. The exact behaviour depends on the controls in your design.
Can I switch it on myself?
Depending on the controls, yes. Options include automatic sensor control, a timer, a manual override and Wi-Fi control from a phone. Your design chooses the approach that suits how you use the property.
Is the heating visible?
No. The heating cable or mat is installed in or beneath the surface. What you see is the finished asphalt, concrete or paving. A sensor and a controller enclosure are the visible parts.
What happens to the meltwater?
It drains off the surface as any rain or meltwater would, so the design of the surface and its drainage matters. We consider this as part of the project.
See how it would work on your property
Tell us about it. We come back with a design and an estimate.